| Cost of Mounts | approx. $50 to $150 per screen |
|---|---|
| Time required | approx. 2 hours |
| Difficulty | Medium |
Mounting Tips for Digital Menu Boards
1. Preparation and Tool Checklist
A little planning saves a lot of frustration. Lay out everything you need before you touch the wall, so you don't have to climb up and down a ladder chasing missing parts:
- Cordless drill with masonry and standard bits
- Spirit level, tape measure, and a pencil
- The VESA wall mount and matching screws
- Wall anchors suited to your ceiling or wall material
- Your media player (for example a Fire TV Stick) plus the power and HDMI cables
- Cable ties or a slim cable channel to keep everything tidy
Having the player and cables ready means you only need to reach behind the screen once, before it goes up on the wall.
2. Check the Ceiling and Load-Bearing Points
A menu board hangs above people, so the fixing point has to be genuinely solid. Many counter areas sit under a suspended plasterboard ceiling, which on its own will not hold a heavy screen. In that case, fix the bracket into the solid ceiling above the panels, or into a load-bearing wall.
- Concrete and brick: standard heavy-duty anchors give excellent grip.
- Plasterboard and lightweight partitions: use proper hollow-wall toggle bolts and stay well within the maximum load rating.
3. Position, Height, and Tilt
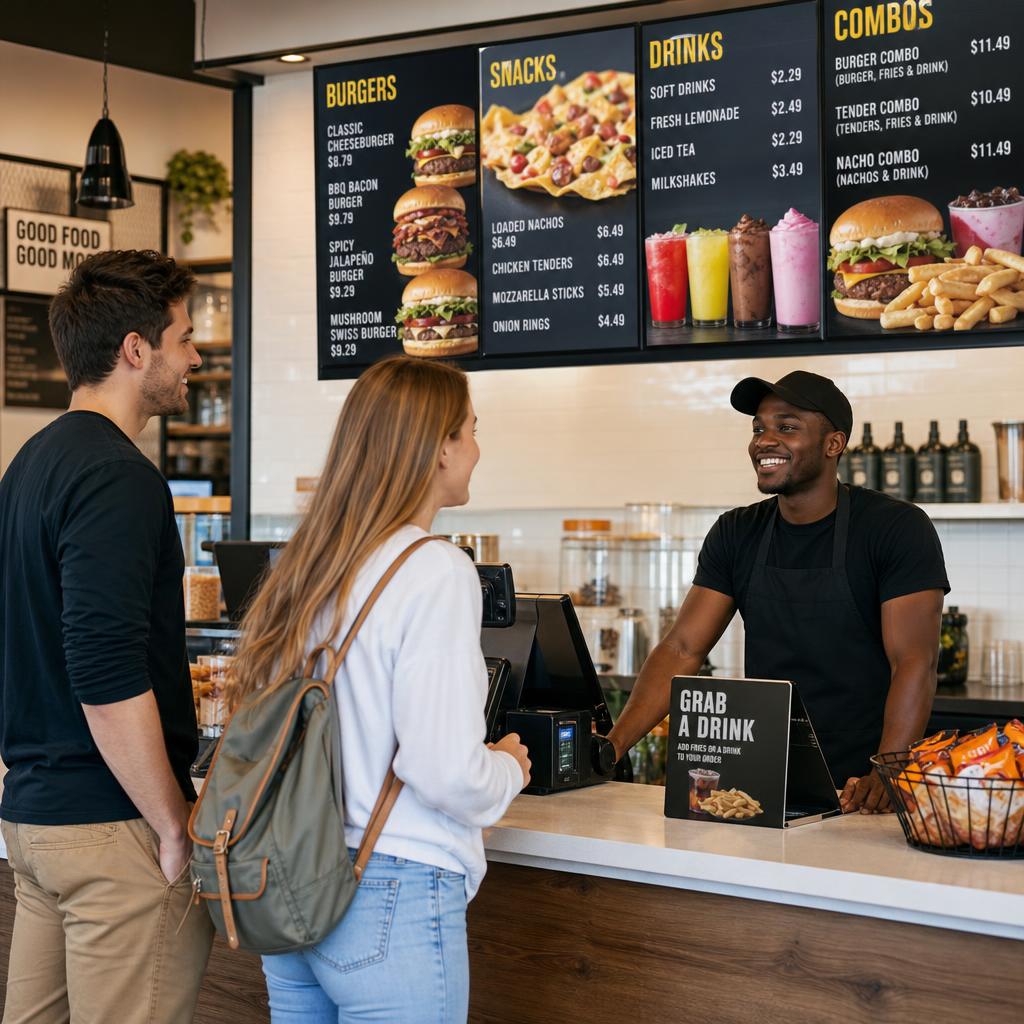
Placement makes or breaks a menu board. It should hang high enough that it never gets in the way of your staff, yet low enough that customers in the queue can read it without craning their necks. A gentle downward tilt of roughly 10 to 15 degrees makes a big difference to the viewing angle. If you are running two or three boards side by side, use mounts with micro-adjustment screws so you can line them up flush, down to the millimetre, after they are hung.
Heat and grease: Hospitality air is often greasy, so keep a healthy distance from open fryers and grills. For very demanding kitchens, a protective enclosure or a commercial-grade display is well worth the extra outlay.
4. Mounting Step by Step
- Hold the wall plate against the wall, level it carefully, and mark the holes with your pencil.
- Drill the holes, tap in the anchors, and screw the wall plate firmly into place.
- Attach the VESA arms to the back of the screen using the correct screws.
- Lift the screen onto the wall plate and make sure the locking mechanism engages.
- Check the tilt with your spirit level and tighten the micro-adjustment screws.
5. Player Placement and Cabling Behind the Screen
Plug your media player straight into the HDMI port on the back of the screen so it stays completely hidden. A standard Fire TV Stick setup is more than enough to open the dashboard and start your rotating menu. To keep it locked to your content, follow our guide on kiosk mode on the Fire TV Stick. Run the power and HDMI cables neatly behind the board and up into the ceiling void, bundling them with cable ties so nothing dangles into the service area.
6. Splash Protection, Hygiene, and Cleaning
Because a counter screen sits close to food and drink, plan for easy cleaning from day one. Route every cable behind the device so the front and sides can be wiped down in seconds. Visible, dangling cables not only look unprofessional, they also trap grease and dust. In busier kitchens, a sealed enclosure protects the screen from splashes and steam and keeps hygiene inspections stress-free.
Common mistakes: Mounting too high (nobody can read it comfortably), skipping the spirit level so boards sit crooked, anchoring into thin plasterboard instead of the solid ceiling, and leaving cables loose where staff can snag them. A few minutes of checking prevents all four.
Rental properties without drilling: If you are not allowed to drill into the walls or ceiling, a solid stand screwed or placed directly onto the counter is a great alternative.