1. What you need
Before you start, have the following items ready. The initial setup itself only takes about 15–20 minutes.
- Fire TV Stick (any model, approx. $30–45) – the box includes the stick, a remote, a USB power adapter, a USB cable, and usually an HDMI extender.
- TV or monitor with an HDMI port – nearly every TV from the last 15 years has at least one HDMI input.
- Stable Wi-Fi connection with the network name and password. Write down your Wi-Fi password beforehand to speed things up.
- Amazon account (free). If you don't have one yet, you can create it right on the TV during setup.
- Two AAA batteries for the remote – these are usually included, but check in advance.
Power adapter instead of the TV's USB port: The Fire TV Stick can technically be powered through the TV's USB port – but it's better not to. The TV's USB port often supplies too little power, which can make the stick slow, cause crashes, or prevent it from starting. It also loses power when you turn the TV off, so the stick has to fully reboot every time. Always use the included power adapter plugged into a wall outlet.
2. First-time setup step by step
Follow these steps in order. The menus appear automatically on the TV once the stick starts.
Connect it
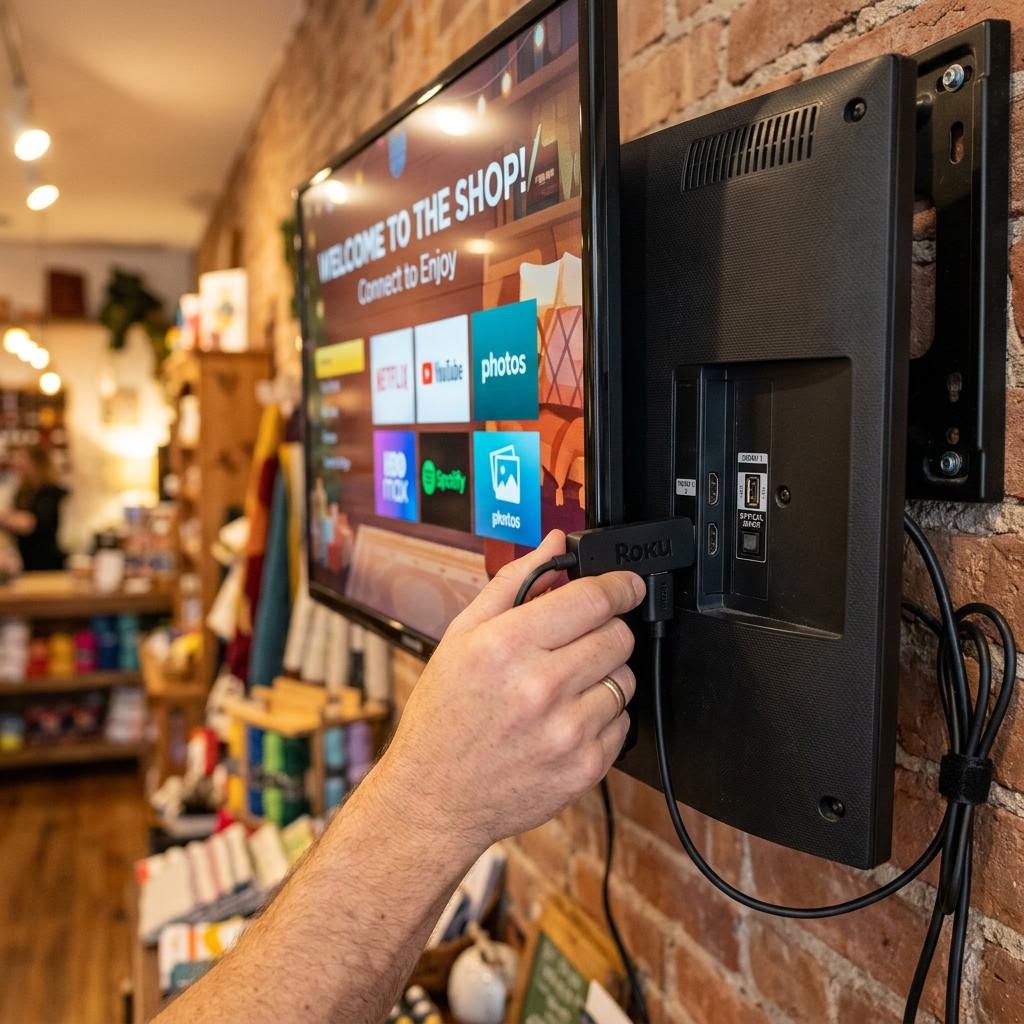
- Plug the Fire TV Stick into a free HDMI port on your TV. If space is tight, use the included HDMI extender.
- Connect the USB cable to the stick and the included power adapter, then plug the adapter into a wall outlet.
- Turn on the TV and select the correct HDMI input – usually via the "Source", "Input", or "AV" button on your TV remote.
Pair the remote
- Insert the batteries into the Fire TV remote.
- The remote usually pairs automatically on first start. If it doesn't, hold the Home button for about 10 seconds until a confirmation appears on screen.
- Follow the prompts to set up the volume and power buttons for your TV, if needed.
Connect to Wi-Fi
- First, select your language.
- The stick scans for available Wi-Fi networks. Select your network from the list.
- Enter the Wi-Fi password using the on-screen keyboard and confirm. Wait until the status shows "connected".
Sign in to your Amazon account
- Sign in with your existing Amazon account (email and password).
- If you don't have an account yet, choose "New to Amazon?" and create a free account right on the TV.
- You can freely decide on the prompts for saving Wi-Fi passwords and parental controls – for a simple digital signage display, these options aren't needed.
Wait for software updates
After signing in, the Fire TV Stick checks for new software. New sticks usually download a larger update right away.
- Keep the stick connected to power and Wi-Fi until all updates are installed.
- The stick may restart several times automatically – this is normal.
- Only when the home screen has fully loaded is the initial setup complete.
3. Important Fire TV settings
Right after setup, it's worth adjusting a few settings. This makes the device quieter, leaner, and more reliable for continuous operation.
Reduce privacy and usage data
- Open Settings (gear icon) > Preferences > Privacy Settings.
- Disable "Device Usage Data" and "Collect App Usage Data".
- Under Advertising ID, you can turn off "Interest-based Ads".
Turn off app notifications
- Go to Settings > Preferences > Notification Settings.
- Enable "Do Not Interrupt" or turn off individual app notifications.
- This prevents distracting pop-ups from appearing on your display during operation.
Automatic updates
Keep automatic software and app updates enabled (under Settings > My Fire TV > About). This keeps the stick secure and stable. Updates usually run overnight – so plan for occasional nighttime operation if your display otherwise runs only during the day.
4. HDMI-CEC explained clearly
HDMI-CEC is a handy feature that lets different HDMI devices control one another. In practice, this means you can turn your TV on and off with the Fire TV remote – and the TV automatically switches to the stick's HDMI input on startup.
The catch: every TV manufacturer names HDMI-CEC differently. You have to enable the feature in the menu of your TV (not the Fire TV Stick). Depending on the brand, look for these names:
- Samsung: Anynet+ (HDMI-CEC)
- LG: Simplink (HDMI-CEC)
- Sony: Bravia Sync
- Philips: EasyLink
- Panasonic: VIERA Link
- Other manufacturers often simply use the label "HDMI-CEC" or "CEC".
Our recommendation: Enable HDMI-CEC in the TV menu (usually under "External Devices", "Connections", or "System"). After that, pressing the Home button on the Fire TV remote is often enough to turn on both the TV and the stick together – very handy for the daily start of your display.
5. Power supply and continuous operation
For a digital signage display, the Fire TV Stick often runs for many hours at a stretch. To keep this reliable, pay attention to the right power supply and a bit of heat management.
- Power adapter instead of USB port: Always use the included power adapter in a wall outlet. The TV's USB port often supplies too little power and loses power when the TV is switched off – both cause problems in continuous operation.
- Keep an eye on heat: The Fire TV Stick gets noticeably warm in continuous operation. Don't cram it into tight, enclosed spaces directly behind the TV. The included HDMI extender creates some distance and improves airflow.
- Weekly restart: A quick restart once a week keeps the stick responsive and prevents freezes. Briefly unplug it from power, or restart it via Settings > My Fire TV > Restart.
| Criterion | Details |
|---|---|
| Cost | approx. $30–45 (Fire TV Stick, incl. power adapter and remote) |
| Time required | 15–20 minutes initial setup (plus update time) |
| Difficulty | Easy – no technical knowledge required |
| Continuous operation | Yes, reliable for 24/7 use with the power adapter |
| Requirements | Wi-Fi, HDMI TV, Amazon account |
6. Next step: set up kiosk mode
Once your Fire TV Stick is fully set up, you can turn it into a permanent digital signage display. For that you need kiosk mode: a browser app that shows your Bildschirmzentrale slideshow in fullscreen, disables the screensaver, and starts automatically on boot.
We've covered this part in its own detailed guide – including browser choice, player URL, and autostart:
Read on: Fire TV Stick as Digital Signage: Kiosk Mode Setup – how to turn your configured stick into a permanently running slideshow.
7. Common problems and solutions
The remote won't pair:
First check the batteries and make sure they're inserted the right way around. Then hold the Home button for about 10 seconds and move closer to the stick. If that doesn't help, briefly unplug the stick from power and start pairing again.
The Wi-Fi keeps dropping:
The Fire TV Stick often sits in an awkward spot behind the TV where the Wi-Fi signal is weaker. Use the HDMI extender to pull the stick out a bit, move the router closer, or add a Wi-Fi repeater. Also check whether you're using the 2.4 GHz network (longer range) instead of the 5 GHz network.
The stick gets too hot:
Ensure ventilation and don't cram the stick into tight, enclosed gaps behind the TV. The HDMI extender creates distance and airflow. A weekly restart also relieves the device.
Black screen or "No Signal" (HDMI handshake):
If you only get a black screen after powering on, the so-called HDMI handshake often helps: unplug the stick from power, wait 10 seconds, and plug it back in. Also switch the HDMI input away and back once, and try a different HDMI port on the TV as a test.