| Cost of Mount | approx. $30 to $100 |
|---|---|
| Time required | approx. 1 to 2 hours |
| Difficulty | Medium |
Step-by-Step to the Perfect Wall Mount
1. Tool Checklist
Get everything within reach before you start, so a half-mounted screen never has to wait while you hunt for a missing bit:
- Cordless drill with masonry and standard bits
- Stud and pipe detector
- Spirit level, tape measure, and pencil
- The VESA wall mount and the screws that came with it
- Wall anchors matched to your wall type
- A cable channel or ties, plus your media player and cables
2. Finding the Right Mount (VESA Standard)
Before you start drilling, you need the right bracket. Modern screens use the VESA standard (for example 200x200 mm or 400x400 mm), which defines the spacing of the mounting holes on the back. Choose between flat, tilting, or swivelling wall mounts, depending on whether you want to adjust the screen angle later.
3. Optimal Position and Height
For your customers to read the content comfortably, height is crucial. As a rule of thumb, the centre of the screen should sit at eye level, around 1.60 to 1.80 metres (63 to 71 inches). Make sure there is a power outlet nearby so you are not left running cables across the whole wall.
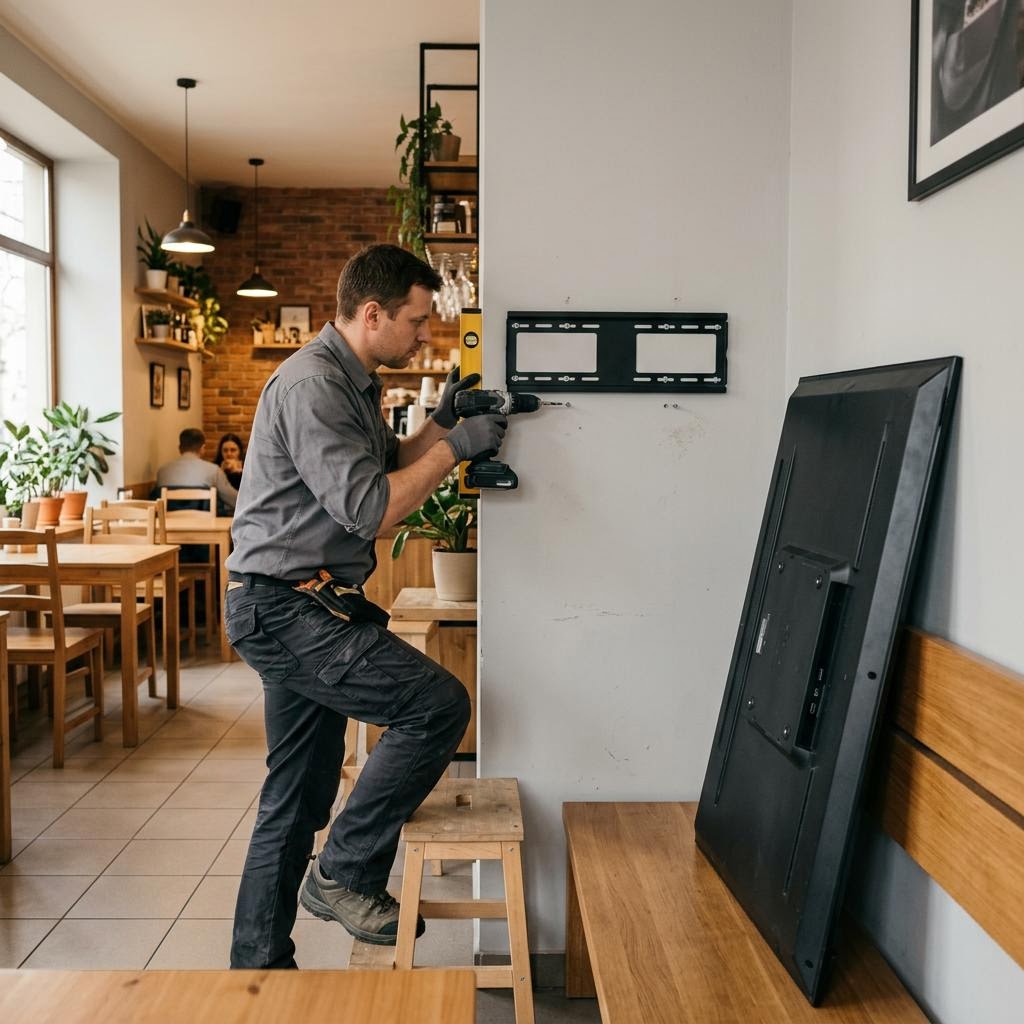
4. Finding Studs and Pipes
Never drill blind. Run a stud and pipe detector across the whole area first to find timber studs, metal framing, and any hidden electrical or water lines. Anchoring into a stud gives you the strongest hold; drilling into a concealed pipe or cable can be dangerous and expensive. Mark the safe fixing points clearly before you pick up the drill.
5. Checking Wall Condition and Drilling
A secure anchor is essential. Check what material your wall is made of:
- Concrete and brick: Standard heavy-duty anchors provide excellent support here.
- Drywall: Use special hollow-wall anchors (toggle bolts) and pay strict attention to the maximum load rating.
Two-person rule and statics: Large screens should always be lifted and hung by two people – one to hold, one to secure. Confirm the wall can actually take the weight, and make sure the mount's rated load is at least twice the weight of the screen. Rushing this step is the most common cause of a screen ending up on the floor.
6. Player Placement Behind the TV
Once the screen is securely hung, plug the player into an HDMI input on the back so it stays completely out of sight. A standard Fire TV Stick setup is all you need to open the dashboard – no expensive specialty hardware required. If you want the same content to appear on several screens from a single player, an HDMI splitter for multiple screens is the simplest way to do it. Hide the power and HDMI cables in a matching cable channel, ideally with an outlet directly behind the TV.
Portrait mode: Screens don't have to run in landscape. If a tall, narrow layout suits your space better, choose a mount that rotates, hang the screen vertically, and switch the orientation to portrait in the app. The content will then fill the display correctly.
7. Common Mistakes to Avoid
- Drilling without checking for studs, pipes, and cables first.
- Hanging the screen too high, so customers can't read it comfortably.
- Choosing a mount rated too close to the screen's actual weight.
- Lifting a large screen alone instead of with a second person.
- Leaving cables exposed instead of routing them into a channel.