Who should choose the Raspberry Pi?
The Raspberry Pi is not the easiest solution – but the most powerful. It's worth it for:
- Tinkerers and tech enthusiasts: You enjoy configuring things and want to understand how everything works.
- Multiple locations: You can configure an image once perfectly and then clone it to 10, 20 or 100 Raspberry Pis.
- 24/7 continuous operation: With watchdog and read-only filesystem, the Pi runs for months without manual intervention.
- Independence: No Amazon account, no Google account – you control everything yourself.
To be honest: If you're only running one display and have no Linux knowledge, a Fire TV Stick for $30–45 is the much simpler choice. The Raspberry Pi costs $80–120 with accessories and requires 1–2 hours setup time – it's only worth it for 2–3+ displays or if you want full control.
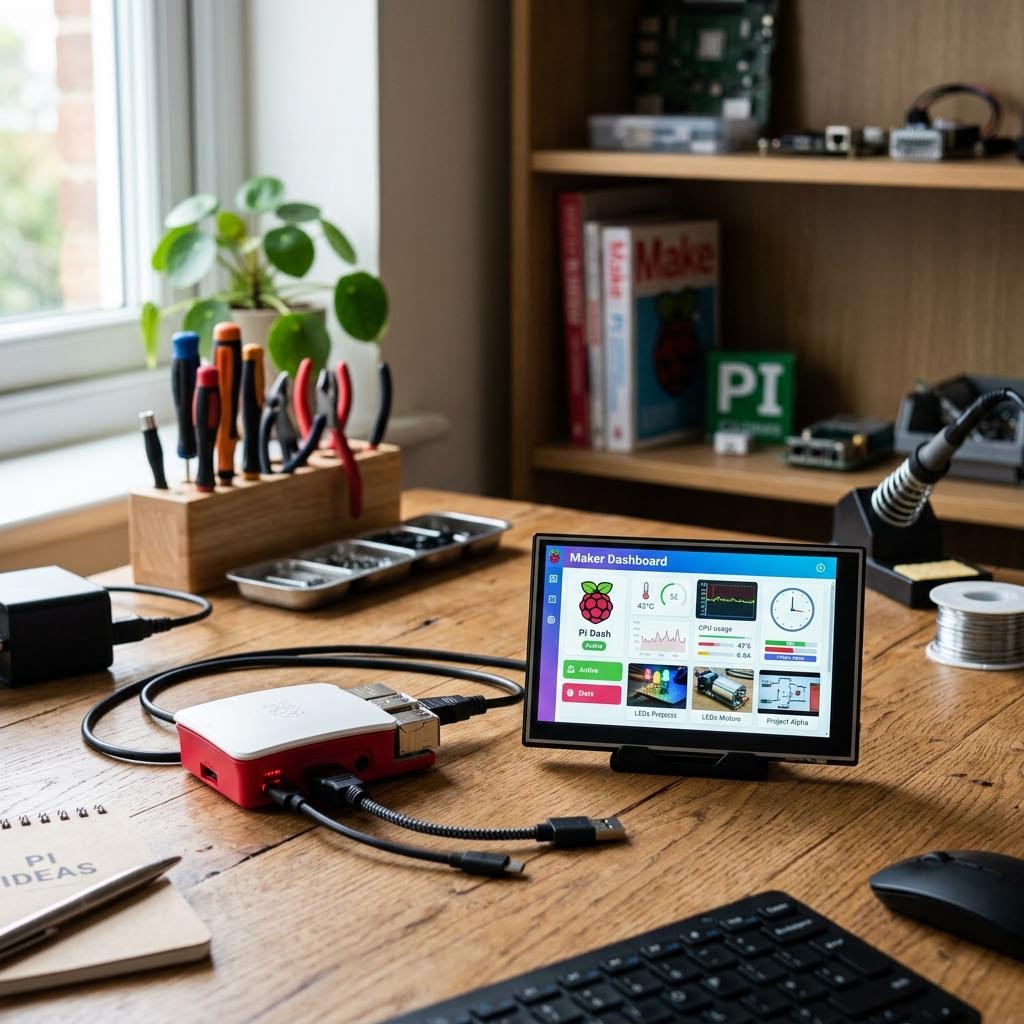
What you need
- Raspberry Pi 4 (4 GB RAM) or Raspberry Pi 5: approx. $60–80 (older models like Pi 3B+ also work but are slower)
- Official Raspberry Pi power supply (USB-C, 15W): approx. $10 (important for stability!)
- MicroSD card (32 GB or more, Class 10 / A1): approx. $8–12
- Optional: Case with cooling: approx. $8–15 (recommended for continuous operation)
- Monitor or TV with HDMI: (already available)
- USB keyboard and mouse: for setup (not needed afterwards)
Total cost: approx. $80–120 (one-time, no recurring costs)
Step-by-step guide
1. Install Raspberry Pi OS
- Download Raspberry Pi Imager: raspberrypi.com/software
- Insert the microSD card into your computer (via SD card reader if needed).
- Open Raspberry Pi Imager and select:
- Device: Raspberry Pi 4 (or 5, depending on your model)
- OS: Raspberry Pi OS (64-bit) with Desktop (not Lite!)
- Storage: Your microSD card
- Click "Edit Settings" (gear icon) and configure:
- Hostname (e.g., "signage-1")
- Username and password (remember these!)
- Wi-Fi SSID and password (if available – saves time during first setup)
- Enable SSH (useful for remote management)
- Click "Write" and wait until the process completes (approx. 5–10 minutes).
2. Boot Raspberry Pi and update
- Insert the microSD card into the Raspberry Pi, connect monitor (HDMI), keyboard and mouse.
- Connect the power supply – the Pi boots automatically (red LED lights up, green LED blinks).
- After approx. 30–60 seconds, the desktop appears. Sign in with your configured username.
- Open a terminal (icon top left or Menu > Accessories > Terminal).
- Update the system (important for security and stability):
sudo apt update && sudo apt upgrade -y
(Duration: approx. 5–15 minutes, depending on updates) - Reboot the Pi:
sudo reboot
3. Configure Chromium in kiosk mode
Chromium is pre-installed on Raspberry Pi OS. We'll configure it for fullscreen continuous operation:
- Open a terminal and create a startup script:
nano ~/kiosk.sh
- Insert the following content (replace
YOUR_PLAYER_URLwith your actual Bildschirmzentrale URL):#!/bin/bash xset s off xset s noblank xset -dpms chromium-browser --noerrdialogs --disable-infobars --kiosk \ --disable-features=TranslateUI \ --disable-session-crashed-bubble \ --check-for-update-interval=31536000 \ 'https://bildschirmzentrale.de/player/YOUR_PLAYER_URL'
- Save with Ctrl+O, Enter, then Ctrl+X.
- Make the script executable:
chmod +x ~/kiosk.sh
- Test the script:
~/kiosk.sh
Chromium should now start in fullscreen with your slideshow. Close with Alt+F4.
What does the script do? xset s off disables the screensaver, --kiosk starts Chromium in fullscreen without address bar, --disable-infobars suppresses update notifications.
4. Set up autostart via systemd
To make Chromium start automatically on boot, we create a systemd service:
- Create a service file:
sudo nano /etc/systemd/system/kiosk.service
- Insert the following content (replace
YOUR_USERNAMEwith your actual username):[Unit] Description=Kiosk Browser After=graphical.target network-online.target Wants=graphical.target [Service] Environment=DISPLAY=:0 Environment=XAUTHORITY=/home/YOUR_USERNAME/.Xauthority Type=simple ExecStart=/home/YOUR_USERNAME/kiosk.sh Restart=on-failure RestartSec=10 User=YOUR_USERNAME [Install] WantedBy=graphical.target
- Save and close (Ctrl+O, Enter, Ctrl+X).
- Enable the service:
sudo systemctl enable kiosk.service
- Start the service manually to test:
sudo systemctl start kiosk.service
Chromium should now start in fullscreen. - Reboot the Pi to verify everything starts automatically:
sudo reboot
5. Enable watchdog (automatic restart on crash)
The hardware watchdog reboots the Raspberry Pi if the system freezes:
- Load the watchdog module at boot:
echo "bcm2835_wdt" | sudo tee -a /etc/modules
- Install the watchdog daemon:
sudo apt install watchdog -y
- Edit the configuration:
sudo nano /etc/watchdog.conf
- Remove the
#before the following lines (if present):watchdog-device = /dev/watchdog max-load-1 = 24
- Enable the watchdog service:
sudo systemctl enable watchdog
sudo systemctl start watchdog
How does the watchdog work? The Raspberry Pi sends an "I'm alive" signal every few seconds. If this signal stops (e.g., during a system crash), the hardware reboots the Pi after 15 seconds automatically.
6. Read-only filesystem (optional, for maximum stability)
SD cards wear out after many write cycles. A read-only filesystem prevents data loss during power outages and extends lifespan:
- Install the overlay filesystem:
sudo apt install overlayroot -y
- Enable read-only:
sudo raspi-config
Go to Performance Options > Overlay File System and enable it. - Reboot:
sudo reboot
Caution: In read-only mode, you can't save permanent changes (e.g., install new software). To make changes, temporarily disable Overlay via raspi-config. For beginners, we recommend skipping this step and only enabling it if you experience SD card wear problems.
| Criteria | Details |
|---|---|
| Cost | approx. $80–120 (one-time, incl. accessories) |
| Time required | 45–90 minutes initial setup |
| Difficulty | Medium to advanced – Linux basics helpful |
| 24/7 operation | Excellent – with watchdog and read-only, maintenance-free for months |
| Requirements | Raspberry Pi 4/5, microSD, HDMI monitor, keyboard (for setup) |
Advantages of Raspberry Pi for digital signage
- Full control: No Amazon, Google or Apple account needed. You decide everything yourself.
- Clone for multiple locations: Configure image once perfectly, then copy via
ddor Win32DiskImager to any number of SD cards. - Remote management: Via SSH, you can centrally manage all displays, deploy updates or change URLs – without being on-site.
- Energy efficient: The Raspberry Pi consumes approx. 3–6 watts – less than a Fire TV Stick and much less than a laptop.
- Longevity: With read-only filesystem and watchdog, a Pi easily runs 1–2 years without maintenance.
Disadvantages and when to choose a Fire TV Stick instead
- Higher barrier to entry: Terminal, systemd, config files – not for absolute tech beginners.
- Higher cost: $80–120 instead of $30–45 for a Fire TV Stick.
- Longer setup time: 1–2 hours instead of 15 minutes.
- No official support hotline: For problems, you rely on community forums and your own research.
Our advice: For 1–2 displays without technical knowledge: Fire TV Stick. For 3+ displays, professional installations or if you're a tinkerer: Raspberry Pi. You can also start hybrid: Test first display with Fire TV Stick, scale to Raspberry Pi if successful.
Common problems and solutions
Chromium doesn't start automatically on boot:
Check the service status: sudo systemctl status kiosk.service. Common errors: username wrong, script path wrong, DISPLAY or XAUTHORITY not set.
Screen goes black after some time:
The xset commands in the script should prevent this. Also check your monitor's power saving settings.
SD card becomes unreadable after months:
Enable read-only (step 6) or use a high-quality SD card with high write cycle guarantee (e.g., SanDisk High Endurance).
Pi doesn't boot after power outage:
The Pi boots automatically as soon as power is applied. Check the power supply (use original!) and whether your monitor activates the HDMI input.